
Many people only think about the tube itself, but the fixture matters just as much. A fluorescent light works as part of a system. The tube, holders, internal electrical components, and housing all affect performance. In practical lighting projects, clean installation and proper fit are what help the light work safely and look neat. This is one reason why structured linear housings and aluminum lighting profiles are now often used in modern lighting systems. They help create better alignment, cleaner appearance, and more reliable protection around the light source.
Before removing or installing anything, it is important to identify the correct fluorescent tube type. Fluorescent tubes come in different lengths, diameters, base styles, and wattages. A tube that looks close in size may still be the wrong one for the fixture. If the length or pin arrangement does not match, the tube will not sit correctly, and forcing it into place may damage the socket.
The most common linear fluorescent tubes use a two-pin base on each end. The tube fits into matching slots in the lampholders, then rotates into the locked position. Some fixtures are designed for slim tubes, while others are built for older larger-diameter tubes. There are also differences between single-pin and double-pin designs. This is why checking the old tube before buying a replacement is always the best first step.
If the lighting system is part of a more finished architectural installation, appearance also matters. Straight alignment, secure placement, and clean housing details all influence the final result, especially in spaces where linear lighting is visible rather than hidden.
The first real installation step is always switching off the power. This should not be treated as optional. Even a simple tube replacement involves contact with the fixture, metal parts, and electrical components. Turning off the wall switch is helpful, but cutting power at the breaker is safer, especially if the fixture is old or if you are not fully sure how the circuit is controlled.
Once the power is off, allow the existing tube to cool if it has been on recently. Fluorescent tubes do not usually become as hot as some other light sources, but they can still be warm enough to make handling awkward. A cool fixture is easier to work with and reduces the chance of dropping the tube during removal.
This preparation stage is also a good time to inspect the light fitting. Dust, loosened end caps, aging sockets, or discoloration inside the fixture may suggest that the problem is not only the bulb. Good installation is not only about getting a tube in place. It is also about confirming that the whole fitting still supports safe and stable operation.
To remove a fluorescent tube, support it with both hands near the ends rather than holding the center only. Most standard tubes are removed by gently rotating the tube until the pins line up with the socket opening. Once the pins are aligned, the tube can be lowered out of the holders. The movement should be smooth and controlled. If the tube resists strongly, stop and check the alignment rather than twisting harder.
This matters because fluorescent tubes are made from glass and can break if too much force is used. A clean removal keeps the socket in better condition and reduces the risk of damaging the new tube during installation. If the old tube appears darkened at the ends, flickered before failure, or worked inconsistently, that can indicate normal end-of-life wear. If the new tube later shows the same issue immediately, the ballast or starter may need attention instead.
After removal, place the old tube somewhere safe rather than leaving it on the floor or against a wall. Fluorescent tubes should be handled with care because they are fragile and need proper disposal.
With the old tube removed, take a moment to look at the fixture itself. The lampholders should be straight and not cracked. The contacts should not appear heavily burned or loose. If the fixture uses a starter, check whether that part is seated properly or may need replacement too. Installing a new tube into a worn-out fixture often leads to the wrong conclusion that the new bulb is faulty.
The inside of the fixture should also be reasonably clean. Dust buildup, insects, or residue can affect both appearance and maintenance. In commercial or decorative lighting environments, these small details make more difference than people expect. A well-maintained fixture not only works better, but also gives the lighting line a cleaner visual effect.
In modern linear lighting design, many installers prefer structured housings or aluminum channels for exactly this reason. A more protected light layout helps keep the system cleaner, more aligned, and easier to integrate into ceilings, cabinets, and display areas.
To install the new fluorescent tube, hold it near both ends and align the pins with the slots in the lampholders. Slide both ends gently into place at the same time. Once the pins are seated correctly, rotate the tube until it locks into its operating position. Usually, this is about a quarter turn. The exact feel depends on the fixture, but the tube should end up straight and secure.
A correctly installed fluorescent tube should not hang loosely or sit at an angle. If it does, remove it and try again rather than forcing it to stay. Most installation problems come from poor alignment at the socket rather than from the tube itself. When the pins and holder match properly, the tube usually turns into place without much effort.
This is the stage where careful handling matters most. The glass tube should not be twisted from the center with excessive pressure. Controlled rotation near the ends is much safer and gives better positioning.
After the tube is installed, restore power and switch the fixture on. A healthy system should light up within a normal delay for that fixture type. Some fluorescent lights come on almost immediately, while others may take a short moment. The main thing to watch for is whether the tube lights evenly and remains stable.
If the tube does not turn on, switch the power off again and recheck the installation. Make sure the tube is fully rotated into the correct position. If the fit is correct but the light still does not work, the issue may be with the starter, ballast, or socket rather than the tube. Flickering, buzzing, or repeated delayed starting often points to those fixture components.
Testing should always be calm and methodical. Good installation is not only about getting light once. It is about making sure the fixture operates in a stable and repeatable way.
One of the most common problems is using the wrong replacement tube. Even small differences in pin type or tube size can prevent proper installation. Another common issue is incomplete rotation. If the tube is not turned fully into place, it may look installed but still fail to make correct contact.
Older fixtures may also create confusion. In some cases, the user replaces the tube when the actual fault lies in a worn starter or failing ballast. This is especially common when the previous tube showed flickering, slow startup, or uneven brightness before it stopped working.
There is also a handling issue worth mentioning. Fluorescent tubes are fragile, so rushing the installation often creates avoidable breakage. The safest approach is always gentle alignment, smooth rotation, and a quick fixture check before testing.
In some spaces, replacing a fluorescent tube is still the most practical choice. But in others, repeated maintenance can be a sign that the lighting system itself is ready for an upgrade. If the fixture is old, inefficient, hard to maintain, or visually outdated, it may be worth considering a newer linear lighting solution.
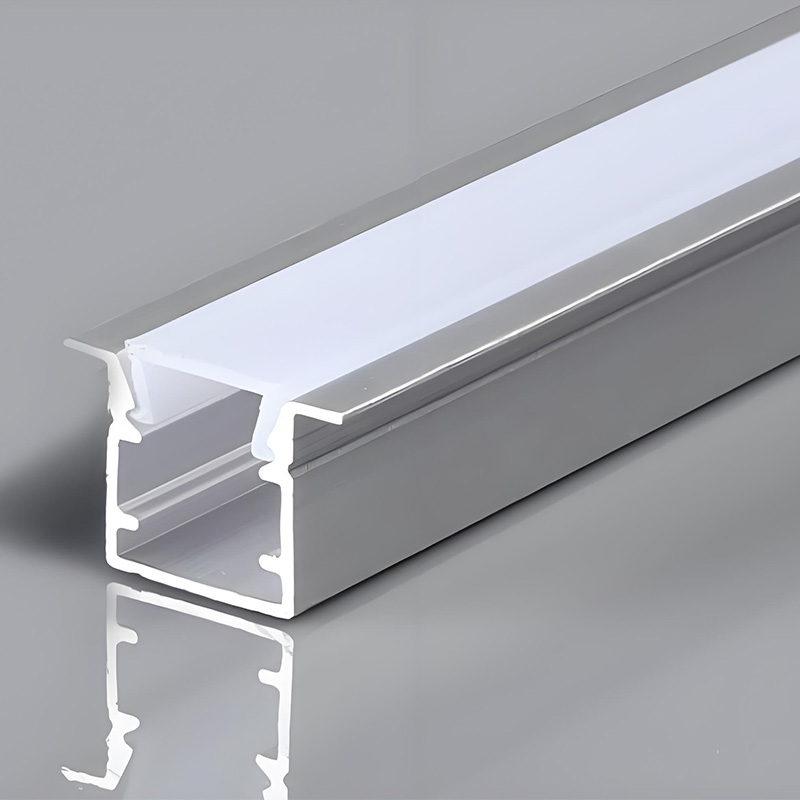
This is where aluminum lighting channels and profile systems often become relevant. They support cleaner installation, better heat handling in LED-based applications, improved visual integration, and a more finished architectural look. In commercial interiors, retail shelves, cabinets, display areas, and modern workspaces, that kind of upgrade often improves both function and appearance.
That does not change the installation method of a traditional fluorescent tube, but it does help buyers think beyond simple bulb replacement when planning longer-term lighting performance.
After installation, do not throw the old fluorescent tube into general household waste without checking local disposal rules. Fluorescent lamps often require more careful disposal because of the materials inside them. A broken tube should also be handled with extra care, and the area should be cleaned according to normal safety guidance for lamp breakage.
Responsible disposal is part of proper installation work. Replacing a light source should not end at the moment the new one turns on. Good handling before and after installation helps keep the process safer and more professional.
Knowing how to install a fluorescent tube light bulb is mostly about doing the simple steps correctly. Turn off the power, confirm the right tube type, remove the old lamp carefully, inspect the fixture, align the pins properly, rotate the new tube into place, and test the light once power is restored. When each step is done with care, the job is usually straightforward and the result is reliable.
If you are working on linear lighting projects and want cleaner housing options, aluminum profile solutions, or more refined lighting integration for modern applications, feel free to contact our team. We can help you explore suitable lighting components and practical product options for your project.